

Materials:
- 2 squares of fabric for the Cathedral Window blocks (I started out with 6" squares, folded to 2.5")
- 2 squares of fabric to set in the "windows" (mine were 1.5")
- Ribbon, about 6", depending on how long you want the ornament to hang
- Stuffing
- Needle and thread
- Scissors
- Rotary cutting tools, or pen and ruler
- Cathedral Window tutorial
Step 1: Start out with your two Cathedral Window blocks. Refer to the tutorial for instructions. Stitch the points in the center of the blocks in place.

Step 2: Sew the two blocks together.
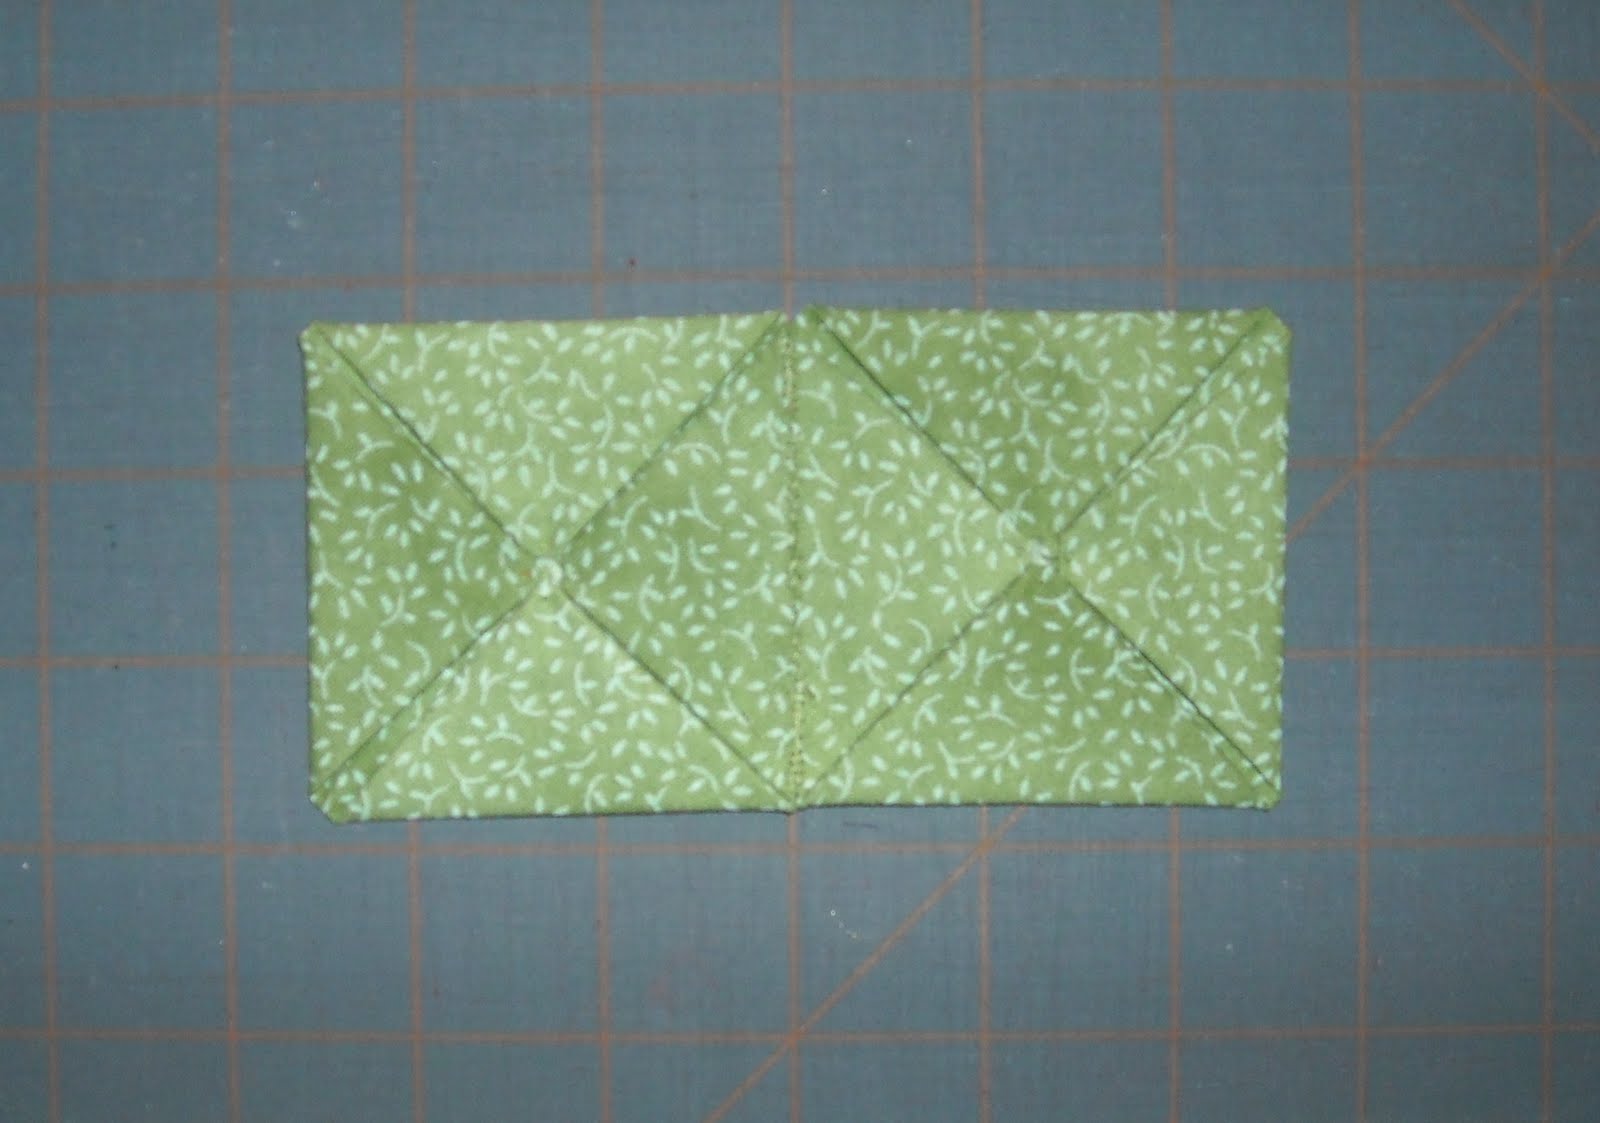
Step 3: Sew in the first window.


Step 4: Sew open the other flaps, except for the two on each end. This is where the other window will go.


Step 5: Fold in half with the crease on the window. The window should be on the inside of the crease. Sew the edges together at the ends only, leaving an opening.

Step 6: Flatten with the opening down the center. Sew one end closed.

Step 7: Knot your ribbon and insert the loop into the pocket with the knot sticking out.


Step 8: Sew the open end closed, securing the ribbon in place.

Step 9: Flip right side out. One side will have the completed window, the other will have the opening where you can stuff it.


Step 10: Stuff. I used quilt batting cut to just under the size of the square.

Step 11: Sew the opening closed.
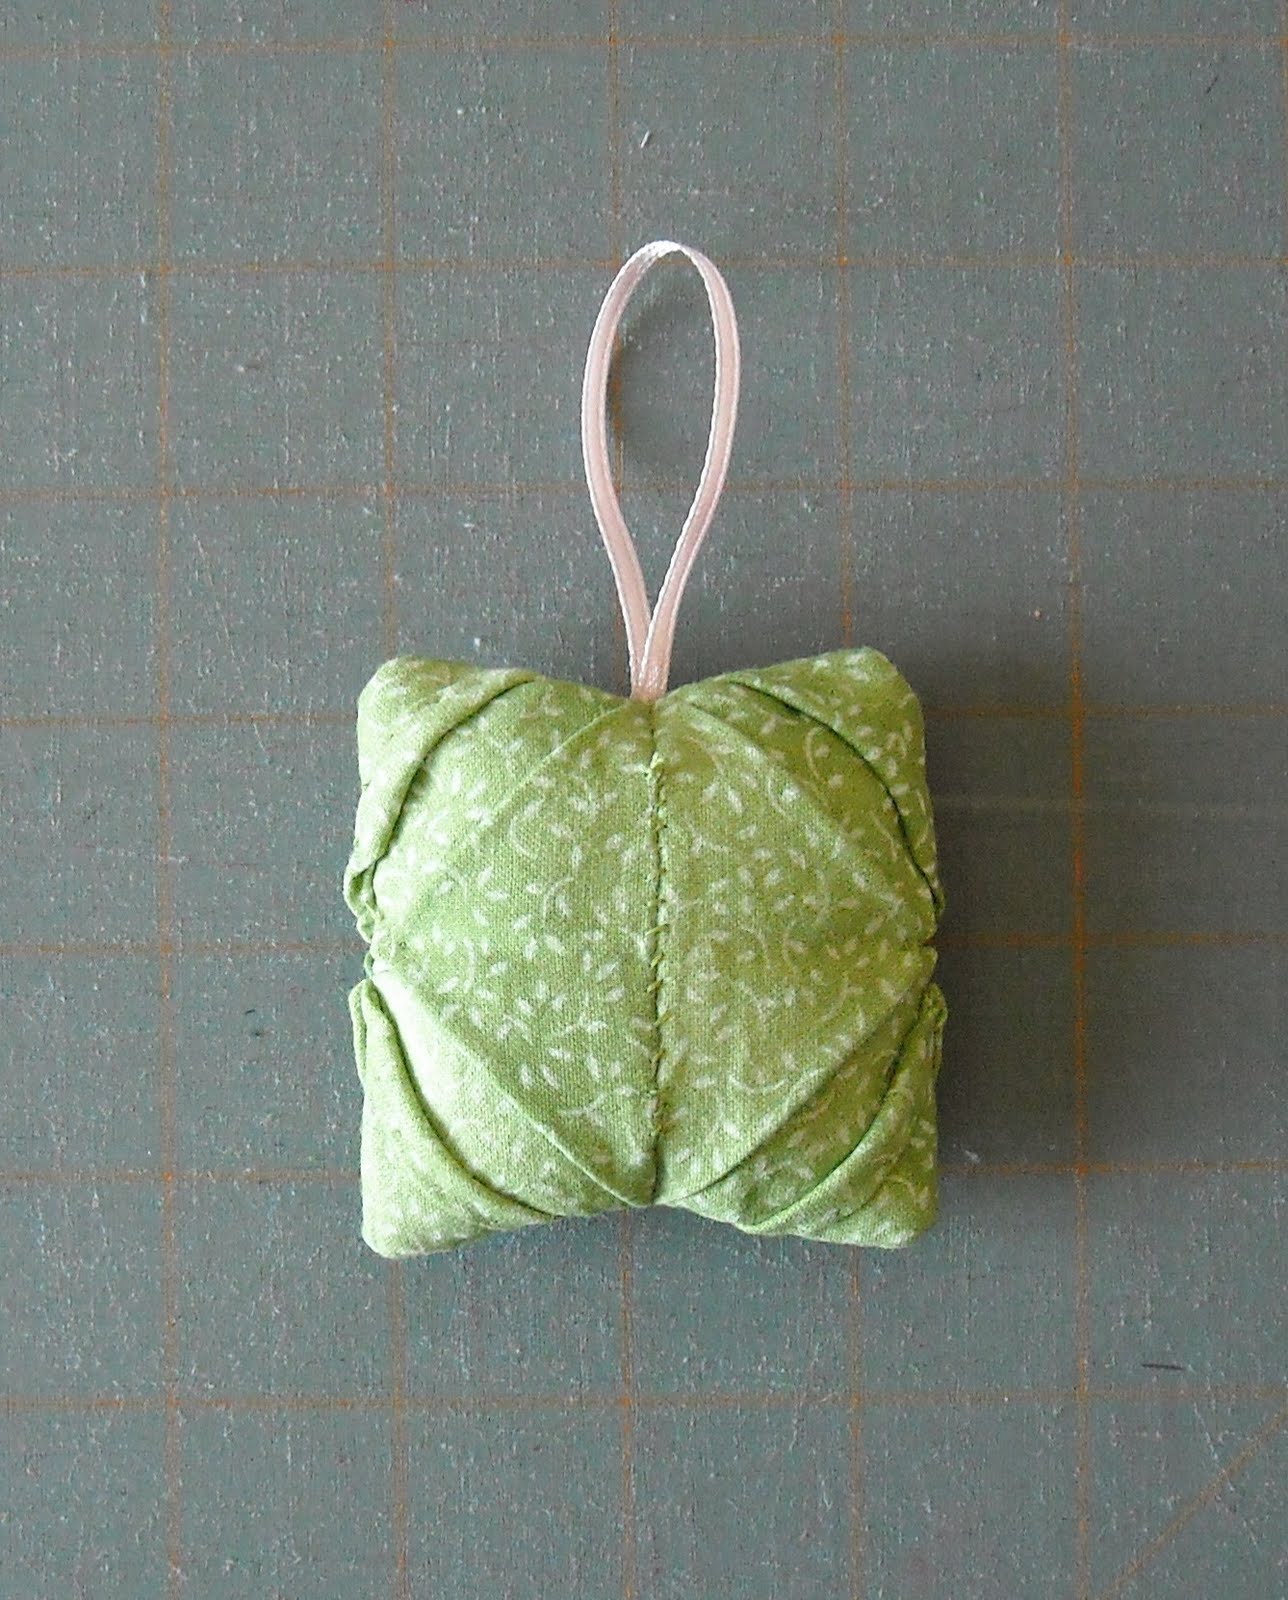
Step 12: Sew in the second window...

...and now you're finished!
 Original post.
Snowman version.
Beautiful!
ReplyDeleteReally pretty!
ReplyDeleteVery clever!
ReplyDeletehmmmmmmm....I take it this is all hand stitched?
ReplyDeleteYes, it's all hand stitched. You could start it on the machine, but the last window needs to be done by hand.
ReplyDelete