Saturday, November 5, 2011

Piggly Wiggly Bag

I love reusable shopping bags. On my trip to North Carolina and DC this summer, I added 5 new ones to my collection, each particularly special because I couldn't get them at home, but the red Piggly Wiggly quickly became my favorite. I didn't shop at Piggly Wiggly when I lived in NC because there wasn't one by my house. (I looked for a bag at Food Lion but they didn't have them. I did get a Tar Heel one from Harris Teeter.) We made a special stop at Piggly Wiggly just because I thought they might have amusing bags. They did. I was not a fan of the "Piggly" side, but I loved the "Wiggly" side.

And then it got ripped by a cashier at Target:


Horrors! I've never had a bag rip before, and I was mad at myself because I had been particularly careful to only use this one for non-grocery shopping trips so it would stay in better shape, and I had forgotten when I handed over my bags on this trip. I was horrified and traumatized. Once I calmed down, it occurred to me to recycle the "Wiggly" part since I'm not that fond of the "Piggly" side anyway. Fortunately I was able to stop by Michael's while traveling for work, and they again had the orange and black reusable Halloween bags I used to make my Clemson bag last year. It was a bit tricky to sew on a bag that was already assembled, but now I have a lovely "Wiggly" bag again.

Sunday, October 23, 2011

Quilt Binding Tutorial

Back in August, I had a question about how I bind my quilts. Since I had a quilt in progress, I decided to demonstrate my process.

You will need: Quilt top and backing, batting, pins

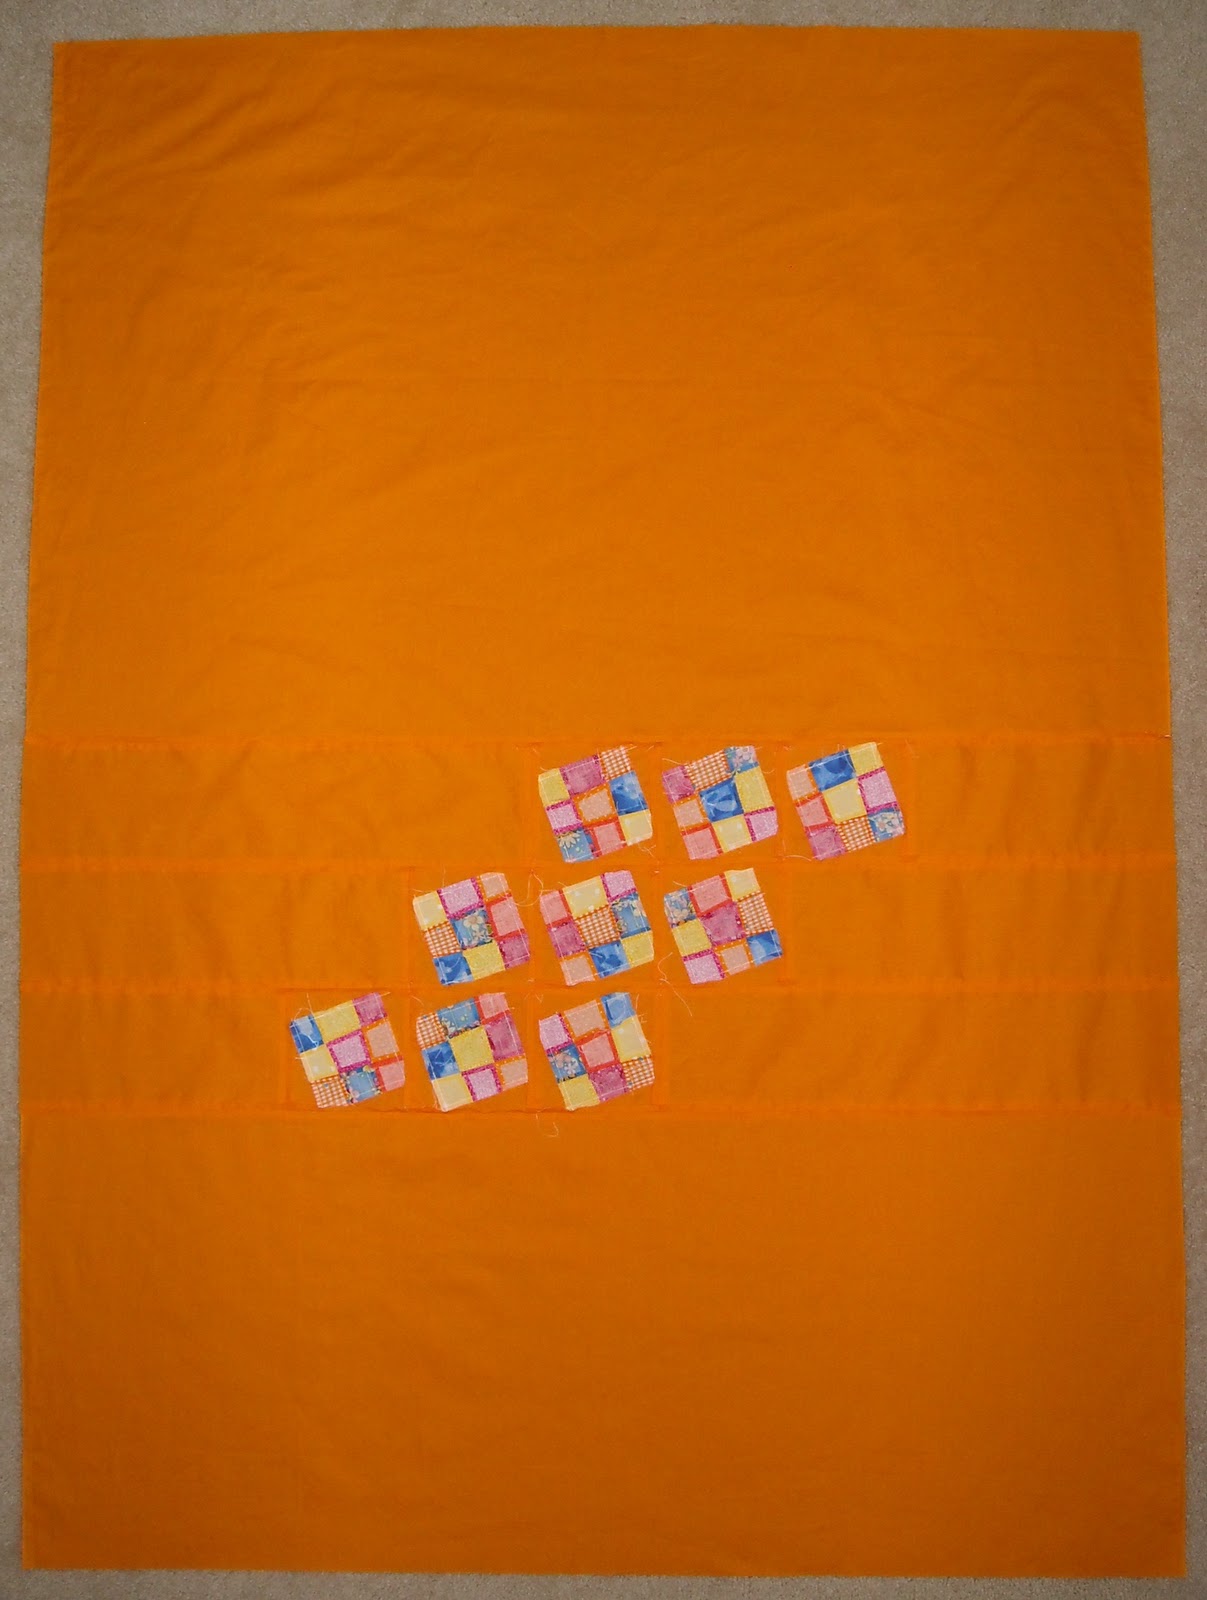
Preparation: For this method, your quilt backing needs to be larger than the quilt top. I make mine about 4" larger, so for a quilt top that is 36" wide by 44" inches long, your backing would need to be 40" x 48", so you have at least 2" on every side.

Step 1: Lay the fabric you will use to back the quilt right side down on the ground.


Saturday, October 22, 2011

Fabric in My Mailbox


Amanda sent me some fabric she didn't think she'd use. I'm not sure what I'll use it for yet either, but it's always good to have options! Recognize the middle red one? She used in one of my Christmas ornaments last year.

Sunday, October 16, 2011

Orange Crazy Nine Patch

Well, at long last, the orange crazy nine patch is complete! I started two sets of these blocks in January of 2010. I finished the blue crazy nine patch in December of 2010. This will be only my third completed quilt for 2011...quite a drop-off from the last two years.


I like how the quilting turned out, except that the smaller blocks are obviously more heavily quilted. I really liked the way the quilting looked on the larger blocks, and I struggled to find a cohesive pattern for the smaller blocks. I didn't want to do any more quilting on the larger blocks.


It is off to live with Tyco and Cleo!

Finished size: 39" x 51"

Saturday, October 15, 2011

Work in Progress


The only sewing I've been doing over the last two months is in an effort to get stuff out of my house. This project has been sitting in a box in closet for years and I decided it's time to do something with it. There was no way I was ripping out stitches to recycle the fabric as I've done with other projects, so I finished up the blocks and now I have 80 badly pieced blocks that are far from square to deal with. I'm not taking the time to square them up as that won't really help the design. I started this quilt in 2001, before I had a rotary cutter, and the design suffered for the lack of precisely cut shapes. I loved the fabric when I bought it; not so much anymore.
Related Posts Plugin for WordPress, Blogger...