My third and final Christmas quilt for the year! The only one of the three I thought I'd actually complete this year and it's the last! The gnome print is the Christmas fabric I acquired most recently. Most of the fabric was already in my stash. I was very pleased at how perfectly the tree print worked for the back. I did have to buy the polka dot print to finish the back. The red and green dots could not be more perfect. I used a tiny grey polka dot print for the binding. I really like the compass stars. I needed five more blocks to add one more row, and I didn't want to make more trees since they are most efficient in sets of three. I quilted in the same light grey thread I used for the penguins. I used my Hera marker to mark the diagonal lines.
Showing posts with label stars. Show all posts
Sunday, September 21, 2025
Sunday, December 10, 2023
Glitter Foam Tree
My glitter foam tree did not come out looking quite like the template I followed. I am not sure I used the same size circles, but it ended up looking much more tightly glued together.
Sunday, July 9, 2017
Map Ornament
While visiting San Antonio with my parents, I bought a Texas Christmas ornament, and it occurred to me when I got home that I didn't have a North Dakota ornament. I was cleaning up my maps after our trip when I realized that a map ornament would be the perfect way to recycle a map I didn't need anymore. Fortunately, Bismarck is small enough that it fit nicely on this star! It is very similar to my rainbow ornament - just a wooden shape mod podged with paper and a grommet to finish the hole I drilled.
Labels:
2017 projects,
mod podge,
ornaments,
stars
Saturday, January 7, 2017
Sunday, December 18, 2016
Mini Quilt Ornament
A couple years ago I had the idea to make Amanda a mini-quilt ornament. I am glad I waited for inspiration because it is much better as a Lisa Frank mini-quilt ornament than anything I would have previously made! Each image is 1" square. I used Jolee's Easy Image transfer sheets. They were different than the printable, fusible fabric sheets I used for the fabric photo book I made last year. (Coincidentally, I used the same pink fabric for both projects!) Those were fabric-y -- you printed and ironed -- where these you print, iron, and peel off the backing for a transfer. These worked much better for this project.
Finished size: 4" x 5.5"
Saturday, December 3, 2016
Another Pair of Pink and Blue Ornaments
This is the third and last set of pink and blue ornaments! They are for Claire's friend Jack and his new sister. I made these over the summer as well, and I just had to wait for the new baby to arrive to finish up the personalization. The blue ornament is the same as the first two, but the pink one is more like another ornament I made that I really liked.
Try making one yourself with this tutorial!
Labels:
2016 projects,
ornaments,
stars
Sunday, August 28, 2016
More Pink and Blue Star Ornaments
Since Styrofoam balls come in packs of six, I try not to make these ornaments one at a time because I don't want to store a bunch of extra balls. So after I made two more ornaments for the kids my mom babysits, I had to find more recipients. Conveniently, one of my friends was expecting a second baby in September, and I hadn't made his first baby an ornament. I knew I had a P brad for their daughter, but after running out of C brads, and using up all the Es and Ls as well, I was concerned about what they might name their son. Fortunately, I had an F. Otherwise, I would have used rhinestones for both. Other than the brad/rhinestone in the center, the blue ornament is exactly the same as the previous blue star ornament, but the pink one is different. Since these are going to siblings, I made them much more similar than the other two, using the same fabric on the outside ring.
Try making one yourself with this tutorial!
Labels:
2016 projects,
ornaments,
stars
Sunday, August 21, 2016
Pink and Blue Star Ornaments
When Claire was born, I made her an ornament, and I also made ornaments for the four kids my mom babysits. That was two years ago. This year, both families had a third baby, so I made ornaments for them as well. One family had a girl, so she got a pink ornament. One family had a boy, so he got a blue ornament. All the ornaments for the older siblings had brads with their initials. However, both sets of kids have names that start with the same letters - each family has an E, L, and C. Since Claire is also a C, the third C baby was out of luck - I was out of C brads and couldn't find them anywhere. I went to two Hobby Lobbys, I had people looking in other states, and nothing turned up online no matter how I searched. So the third C baby gets a rhinestone star, and it just turned out to be terribly convenient that I chose star fabric and already happened to have the star rhinestones!
C ornament #2
E ornament #1
L ornament #1
L ornament #2
Try making one yourself with this tutorial!
Labels:
2016 projects,
ornaments,
stars
Sunday, July 3, 2016
Saturday, September 19, 2015
Unicorn Doll Quilt
I couldn't resist buying this unicorn fabric, but then, since I didn't have a project in mind, it just sat there. I finally decided to make a little doll quilt for my niece. She's just starting playing with dolls, and it is perfect for the wooden baby doll cradle my dad made when I was little.
I also made a matching cushion for the cradle:
Finished quilt size: 16" x 20"
Saturday, March 21, 2015
O Selvedge Tree
A beautiful 60 degree day in March, and what am I doing? Making Christmas decorations naturally.
I'd been saving selvedge for a while and I decided I needed to do something with it. I didn't have all that much, so I vaguely thought I would just make a little pin cushion. Not all the dots were the same length though, so I decided to stack them by length. Once I realized I could make a tree, I was sold. It shifted a bit during sewing, so it's a bit of a wonky tree.
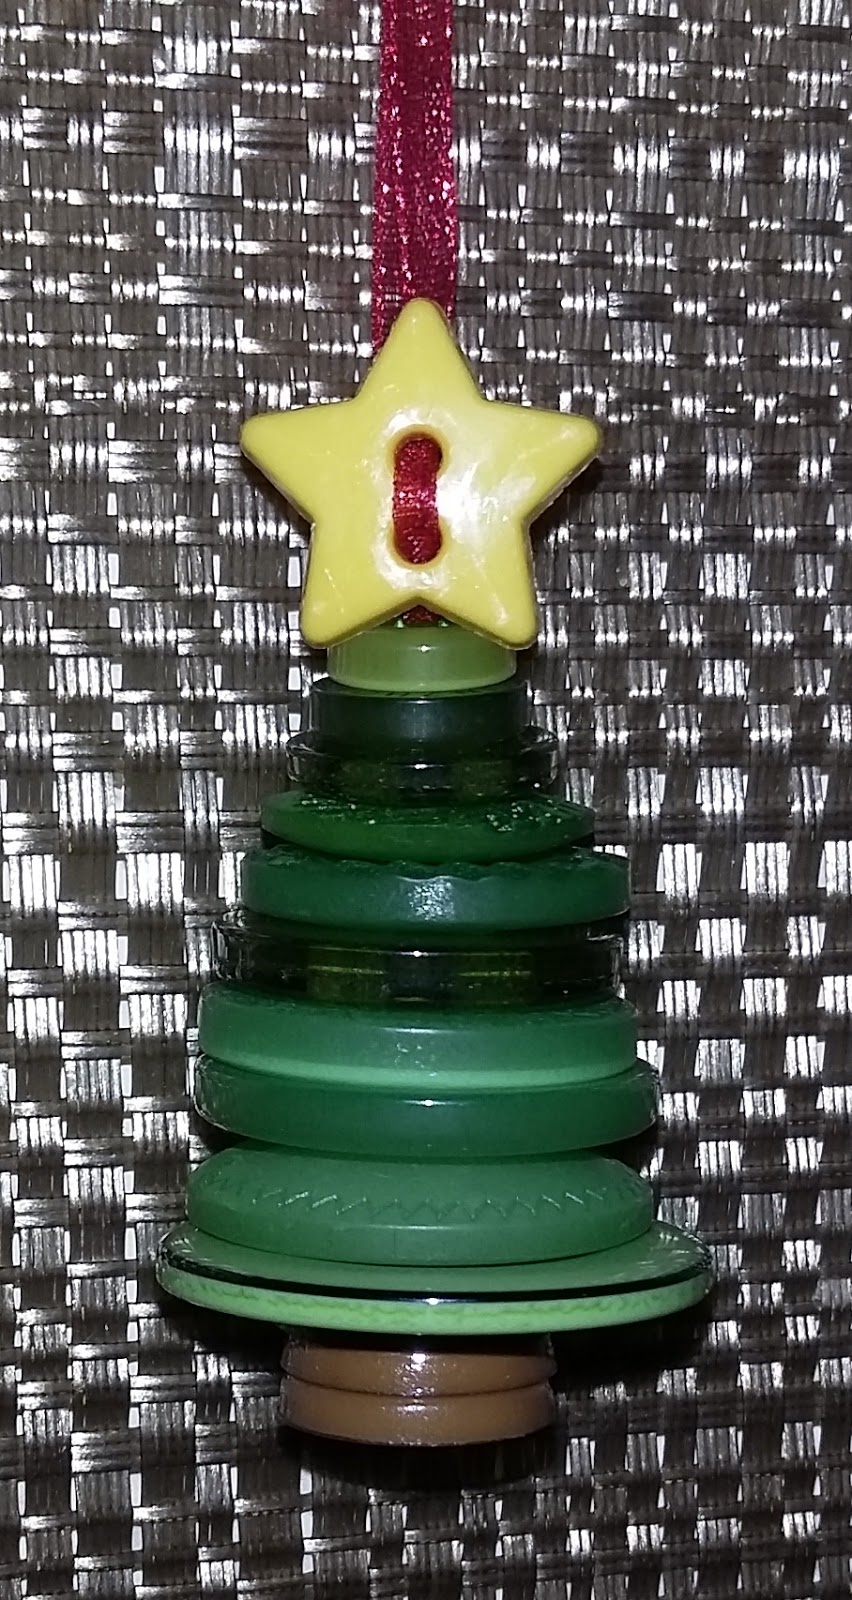
The star at the top was leftover from the 3D ribbon trees. It was not originally a button, so it had to be turned in to one with the assistance of my handy rotary tool.
If you hold it up to the light, it looks like it's snowing!
Finished size: 7" x 11.5"
I'd been saving selvedge for a while and I decided I needed to do something with it. I didn't have all that much, so I vaguely thought I would just make a little pin cushion. Not all the dots were the same length though, so I decided to stack them by length. Once I realized I could make a tree, I was sold. It shifted a bit during sewing, so it's a bit of a wonky tree.
The star at the top was leftover from the 3D ribbon trees. It was not originally a button, so it had to be turned in to one with the assistance of my handy rotary tool.
If you hold it up to the light, it looks like it's snowing!
Finished size: 7" x 11.5"
Labels:
2015 projects,
Christmas,
mini quilts,
rotary tool,
stars,
trees
Saturday, December 22, 2012
Merry and Bright Felt Tree Garland
I bought these tiny star buttons (only 3/8" tall) on clearance a while ago and when I saw this garland, I knew it would be the perfect project. However, the Noodlehead pattern uses equilateral triangles, and I wanted my trees to be taller and skinner, so I used an isosceles triangle. My fabric triangles have 2" bases and are 2.5" tall. The felt triangles have 3" bases and are 3.5" tall (plus 1/2" for the trunk). Instead of sewing down the fabric all at once, I first sewed down the trunks with brown thread, then sewed down the trees with matching colored thread. I also simply layered in two triangular pieces of quilt batting before sewing. It was very tempting to make them into individual ornaments, but I think part of their appeal is how nice the colors look together. I strung them on some metallic ribbon and added two silver star buttons to the end, with tiny clothes pins glued to the back for hanging.
Labels:
2012 projects,
Christmas,
felt,
stars,
trees
Saturday, August 25, 2012
Starry Pin Heads
I came across a tutorial for designing your own pin heads. I had no reason to make some except they were cute and I had shrink plastic. I also happened to have a star punch; however, I was not strong enough to punch through the plastic, so I just dented it where the tips of the stars would be, colored them, and snipped them out with tiny scissors after sticking pins through them. I used every color Sharpie I have.
Pre-bake:
Post-bake:
They are cute and tiny and colorful, but, as they don't lay flat, they are not very practical for actually pinning fabric.
Labels:
2012 projects,
pins,
stars
Sunday, January 23, 2011
Scrappy Mini
I pulled out scraps of these fabrics awhile ago for a mini project. I was pleased that I found scraps of them all. I wanted to combine these particular fabrics because they show up in this combination in my scrap quilt, and I really like them. They just make me happy.
This is why I don't hand quilt anything:
Finished size: 3.75" square
This is why I don't hand quilt anything:
Finished size: 3.75" square
Labels:
2011 projects,
mini quilts,
scraps,
stars
Friday, December 31, 2010
Sparkly Star Yo-Yo Ornament
I tried to replicate the yo-yo ornaments using a star leftover from my ribbon tree instead of a rhinestone. The yo-yo is made from the sparkly fabric I used for the pink star quilt. While I love the sparkly star, I don't think the non-round shape in the center works quite as well. I probably should have tried to make a star-shaped yo-yo, but that did not occur to me. Or maybe it's the odd number of ribbon loops that throws it off.
Yo-Yo Ornament Tutorial
Labels:
2010 projects,
ornaments,
stars,
yo-yos
Sunday, December 19, 2010
Christmas Stars
I've made felt versions of these stars, but this is the actual method suggested in the tutorial. I used fabric leftover from my tree skirt, which I also used for ornaments in 2008.
Labels:
2010 projects,
Christmas,
ornaments,
stars
Saturday, December 18, 2010
Felt Christmas Stars
More felt stars! These are just so cute and easy! I modified this tutorial. I am sending a couple to a friend for her son and daughter and I embellished them further by adding their names in gold glitter glue.
Sunday, October 17, 2010
Re-Quilting
I decided my blue and yellow star quilt needed some more quilting. When I originally quilted it, I only quilted around the stars, which is not much quilting for a twin size quilt. I don't use it much, but I decided if I ever needed to wash it or wanted to give it away, it would need a little more stability. I quilted an inch inside the stars and an inch outside the stars. I did the same thing in the columns along the sides, along with quilting around the whole edge of the quilt. It would have been nice to do some fancy star designs, but I am just not that patient.
Labels:
stars
Monday, September 13, 2010
Felt Star
I saw a variation of these on Flickr, with a link to this tutorial. I immediately wanted to make some as Christmas ornaments, but I decided to try it first with felt. It's just a pentagon within a pentagon. I was debating just gluing down the orange, but I decided to embellish it a bit with stitches instead. Now, I think I might just make some more with felt!
Labels:
2010 projects,
felt,
ornaments,
stars
Monday, September 6, 2010
Pink Star Quilt
It is finally done! I started these star blocks last October, so at least I finished in under a year.
The quilt top
The back
More star blocks
Mini star blocks
Lightning bolt blocks
Pattern for the lightning bolt block
Finished size: 42"x52"
Star blocks based on this tutorial.
Pattern for the lightning bolt block.
Labels:
2010 projects,
quilts,
stars
Subscribe to:
Posts (Atom)