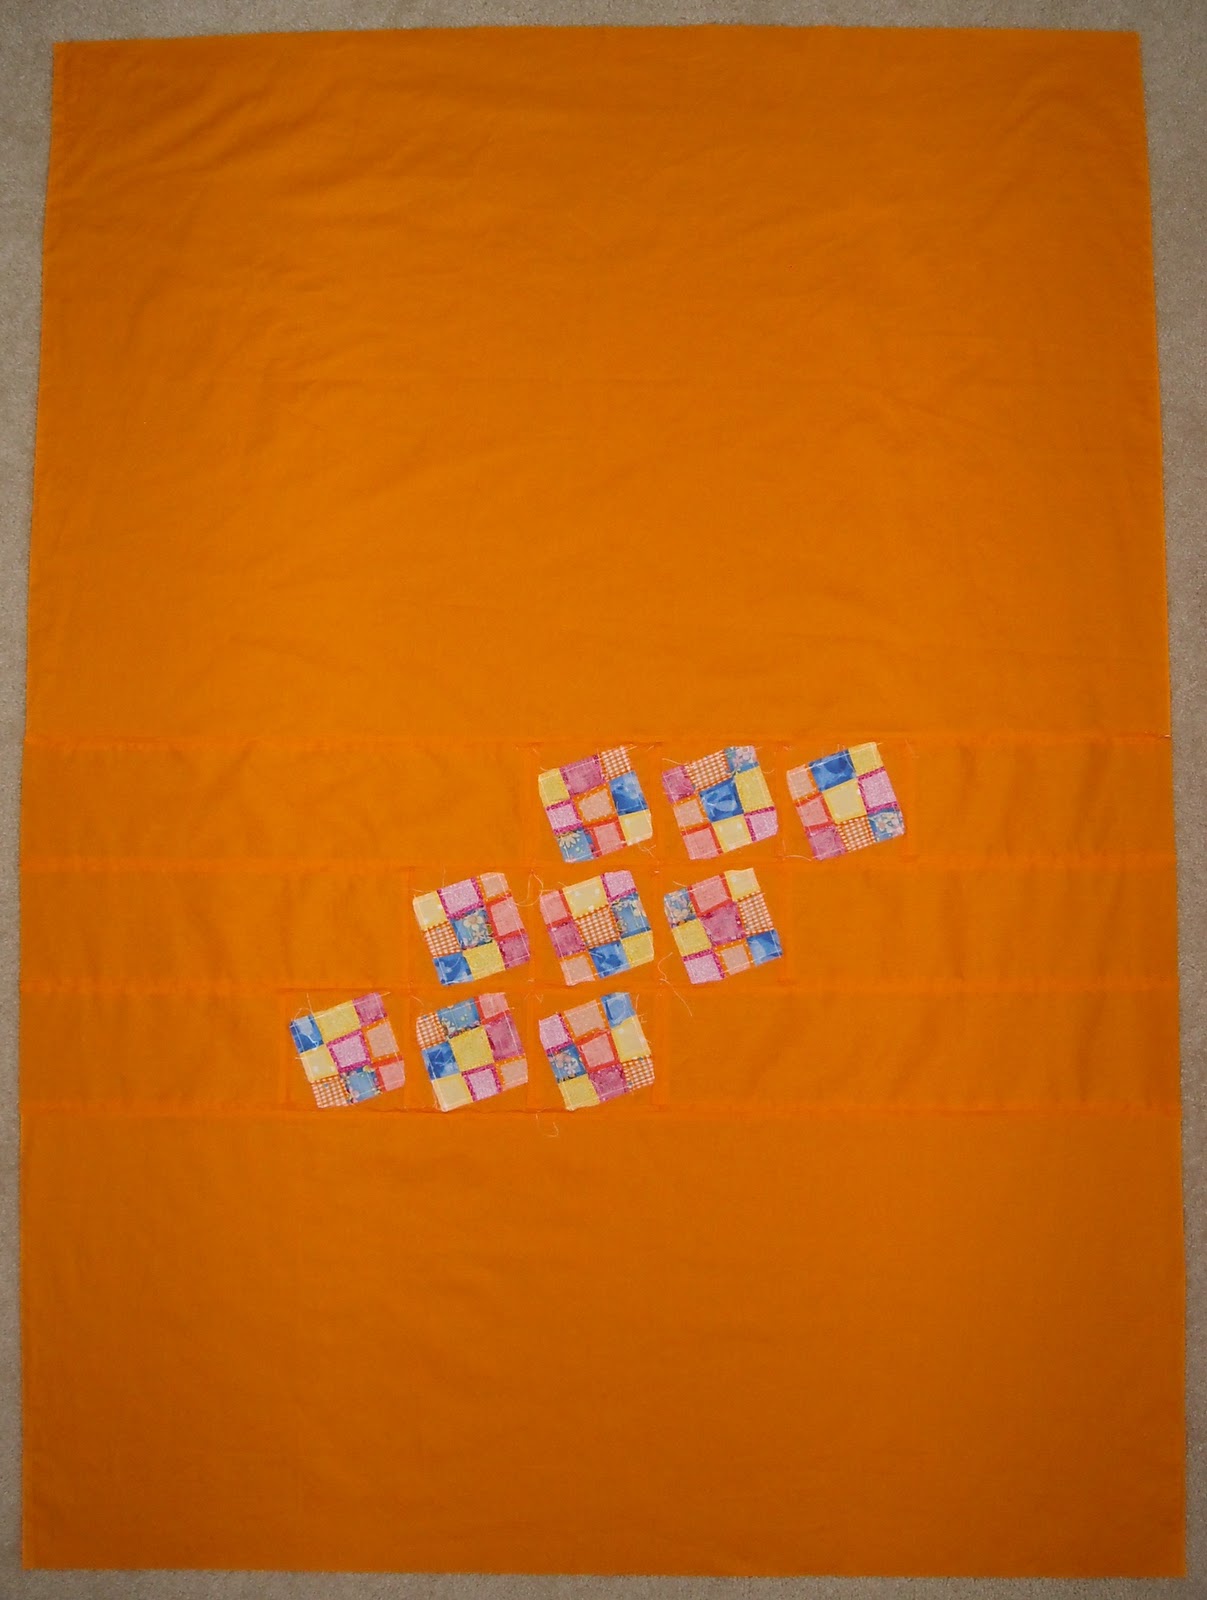
After two scrap quilts, I still had a shoe box full of 2.5" squares of fabric, but I was left with a lot more of some fabrics and colors than others, so I needed a quilt design that worked with those imbalances. Granny squares provided the solution. In a three ring design, individual squares can be used for the center of the block, the inner ring only requires four squares, and the outer ring requires eight. I had previously made a granny square quilt that involved individual blocks and sashing. One of my scrap quilts involved a granny square design, though those also were able to be pieced as blocks due to the orientation. I knew I didn't want to using sashing or have seams between my blocks, so this quilt was going to have to be pieced in diagonal rows.
My 2.5" squares were organized in stacks, which were sorted by color and fabric. I started by reorganizing them into groups based on quantity. If I only had 1-3 squares of a fabric, it went into the group of fabrics that could only be used for the center ring. If I only had 4-7 squares of a fabric, it went into the group of fabrics for the inner ring. If I had 8 or more squares of a fabric, it went into the group of fabrics for the outer ring. Of course, the fabrics for the outer ring could also be used for the inner rings as well, and quantities left changed as I committed them to a block. I picked one fabric for the center, and coordinating groups of four and eight fabrics for the next two rings. Each group became a little pile.
Showing posts with label tutorials. Show all posts
Saturday, July 28, 2018
Sunday, October 23, 2011
Quilt Binding Tutorial
Back in August, I had a question about how I bind my quilts. Since I had a quilt in progress, I decided to demonstrate my process.
You will need: Quilt top and backing, batting, pins
Preparation: For this method, your quilt backing needs to be larger than the quilt top. I make mine about 4" larger, so for a quilt top that is 36" wide by 44" inches long, your backing would need to be 40" x 48", so you have at least 2" on every side.
Step 1: Lay the fabric you will use to back the quilt right side down on the ground.
You will need: Quilt top and backing, batting, pins
Preparation: For this method, your quilt backing needs to be larger than the quilt top. I make mine about 4" larger, so for a quilt top that is 36" wide by 44" inches long, your backing would need to be 40" x 48", so you have at least 2" on every side.
Step 1: Lay the fabric you will use to back the quilt right side down on the ground.
Thursday, December 2, 2010
Ribbon Bunching Tutorial
To bunch ribbon like I did for the ribbon and rhinestone ornaments, you will need a ribbon, needle, thread, and scissors. Use your preferred method to keep the ends of the ribbon from fraying. I melted the ends of my ribbon instead of using Fray Check or nail polish and really liked the results.
Tie your thread to the edge of the ribbon to stop the knot from being pulled through the ribbon when bunching, then use a running stitch to sew from one edge of the ribbon to the other on an angle. This creates a zig zag down the ribbon as seen here:
The above picture is just for the big picture. Don't wait till the end of the ribbon to start bunching. Start bunching after you've sewn a few zig zags. This makes it easier to bunch.
When you get to the end, pull it tight and again tie your thread to the edge of the ribbon. If you are creating a circle, stitch the two ends together. Once you have a circle, you can glue on your embellishments, similar to the construction of the yo-yo ornaments.
This was 11" of ribbon that was 1.5" wide and it produced a 2.5" bunch.
To create a rhinestone ornament, you will need:
Tie your thread to the edge of the ribbon to stop the knot from being pulled through the ribbon when bunching, then use a running stitch to sew from one edge of the ribbon to the other on an angle. This creates a zig zag down the ribbon as seen here:
The above picture is just for the big picture. Don't wait till the end of the ribbon to start bunching. Start bunching after you've sewn a few zig zags. This makes it easier to bunch.
When you get to the end, pull it tight and again tie your thread to the edge of the ribbon. If you are creating a circle, stitch the two ends together. Once you have a circle, you can glue on your embellishments, similar to the construction of the yo-yo ornaments.
This was 11" of ribbon that was 1.5" wide and it produced a 2.5" bunch.
To create a rhinestone ornament, you will need:
- 24" of 1" wide ribbon
- 3 4" pieces of 1/4" wide ribbon
- 1 6" of 1/8" wide ribbon
- 1 20mm rhinestone
- Needle and thread
- Scissors
- Hot glue gun
Tuesday, November 30, 2010
Yo-Yo Ornament Tutorial
Here's the ornament we'll be making today:
It's so easy it barely requires instructions, but it's always nice to have measurements instead of messing around figuring them out yourself.
Materials:
It's so easy it barely requires instructions, but it's always nice to have measurements instead of messing around figuring them out yourself.
Materials:
- 1 yo-yo (yo-yo making instructions) - I started with a 5" circle to end up with a 2.5" yo-yo
- 3 5.25" lengths of 3/8" wide ribbon
- 6" of 1/8" ribbon
- 1 20mm rhinestone
- Needle and thread
- Scissors and pen
- Hot glue gun
Labels:
ornaments,
rhinestones,
ribbon,
tutorials,
yo-yos
Sunday, April 11, 2010
Cathedral Window Ornament Tutorial
Here's what we'll be making today:
Materials:
Materials:
- 2 squares of fabric for the Cathedral Window blocks (I started out with 6" squares, folded to 2.5")
- 2 squares of fabric to set in the "windows" (mine were 1.5")
- Ribbon, about 6", depending on how long you want the ornament to hang
- Stuffing
- Needle and thread
- Scissors
- Rotary cutting tools, or pen and ruler
- Cathedral Window tutorial
Saturday, March 20, 2010
Cathedral Window Cube Tutorial
Here's what we'll be making today:
Materials:
Materials:
- 6 squares of fabric for the Cathedral Window blocks, which will form the sides of the cube (I started out with 7.5" squares; folded to about 3.25")
- 12 squares of fabric to set in the "windows" (Mine ended up being 2" squares)
- Stuffing (I used scraps of quilt batting)
- Needle and thread
- Straight pins
- Scissors
- Rotary cutting supplies, or a pen and a ruler
Tuesday, November 24, 2009
Dabbled Feature
Decorating for the holidays? Check out Dabbled.org for a round-up of Handmade Christmas Ornament Tutorials. You may recognize a certain shamrock ornament.For more ideas, there's also last year's feature, Bunches of Christmas Ornaments.
Sunday, September 27, 2009
Yo-Yo Pumpkin Tutorial
Here's what we'll be making today:

Materials:
Materials:
- 1/4 yard each of two coordinating orange fabrics
- Needle and thread
- Scissors and pen
- Circular templates in the following sizes: 4", 5", 6", 7"
- Hot glue gun
- 1/8" dowel
- 1/2" spool
- 1" disc
- Brown paint and brush
- Fake leaves
Friday, August 14, 2009
Quilted Ball Ornament Tutorial
Here's the ornament we'll be making today:
Materials:
- 1/4 yard, or a fat quarter, of the main fabric (pink in this example)
- 1/8 yard, or a fat quarter, of an accent fabric (green in this example)
- 3" diameter Styrofoam ball
- 1/2" sequin pins
- scissors
- ruler
- glue gun
- narrow ribbon (approximately 6" depending on preferred hanging length)
- 1 button with a flat back (preferably with 2 holes)
- sewing machine or needle and thread (or you can substitute glue - sewing is optional)
- iron and ironing board (optional)
- rotary cutter, mat, and ruler (optional, but handy)
Subscribe to:
Posts (Atom)